Snagging Your New Villa: The Complete Handover Checklist
Snagging your new villa starts the day it’s handed over — walk in on day one and it’ll impress you: fresh paint, gleaming floors, that new-construction smell. Give it three weeks of actual living and the cracks start to show. A door that only latches when you lift the handle. An AC vent blowing lukewarm air into the master bedroom. None of these are disasters. But every one of them was the contractor’s responsibility — until you signed the handover sheet and released the final payment. Then, quietly, they become yours.
This is why snagging exists. And why you should never skip it.
What Snagging Actually Is

Snagging is the formal inspection you do before accepting a villa from your contractor. A “snag” is any defect, unfinished detail, or piece of work that doesn’t meet the agreed standard. You walk the property, document everything that’s wrong or incomplete, and hand the contractor a written snag list. They fix every item on it. Only then do you sign off and release the final payment.
In Dubai, contractor liability for defects typically runs under your construction contract’s terms — a defects liability period for most issues, longer for structural elements. But getting fixes done before final payment is released is far easier than chasing them afterward, when your money has moved and the contractor’s attention has moved with it. Snagging is your leverage. Use it while you have it.
Before You Start: How to Prepare
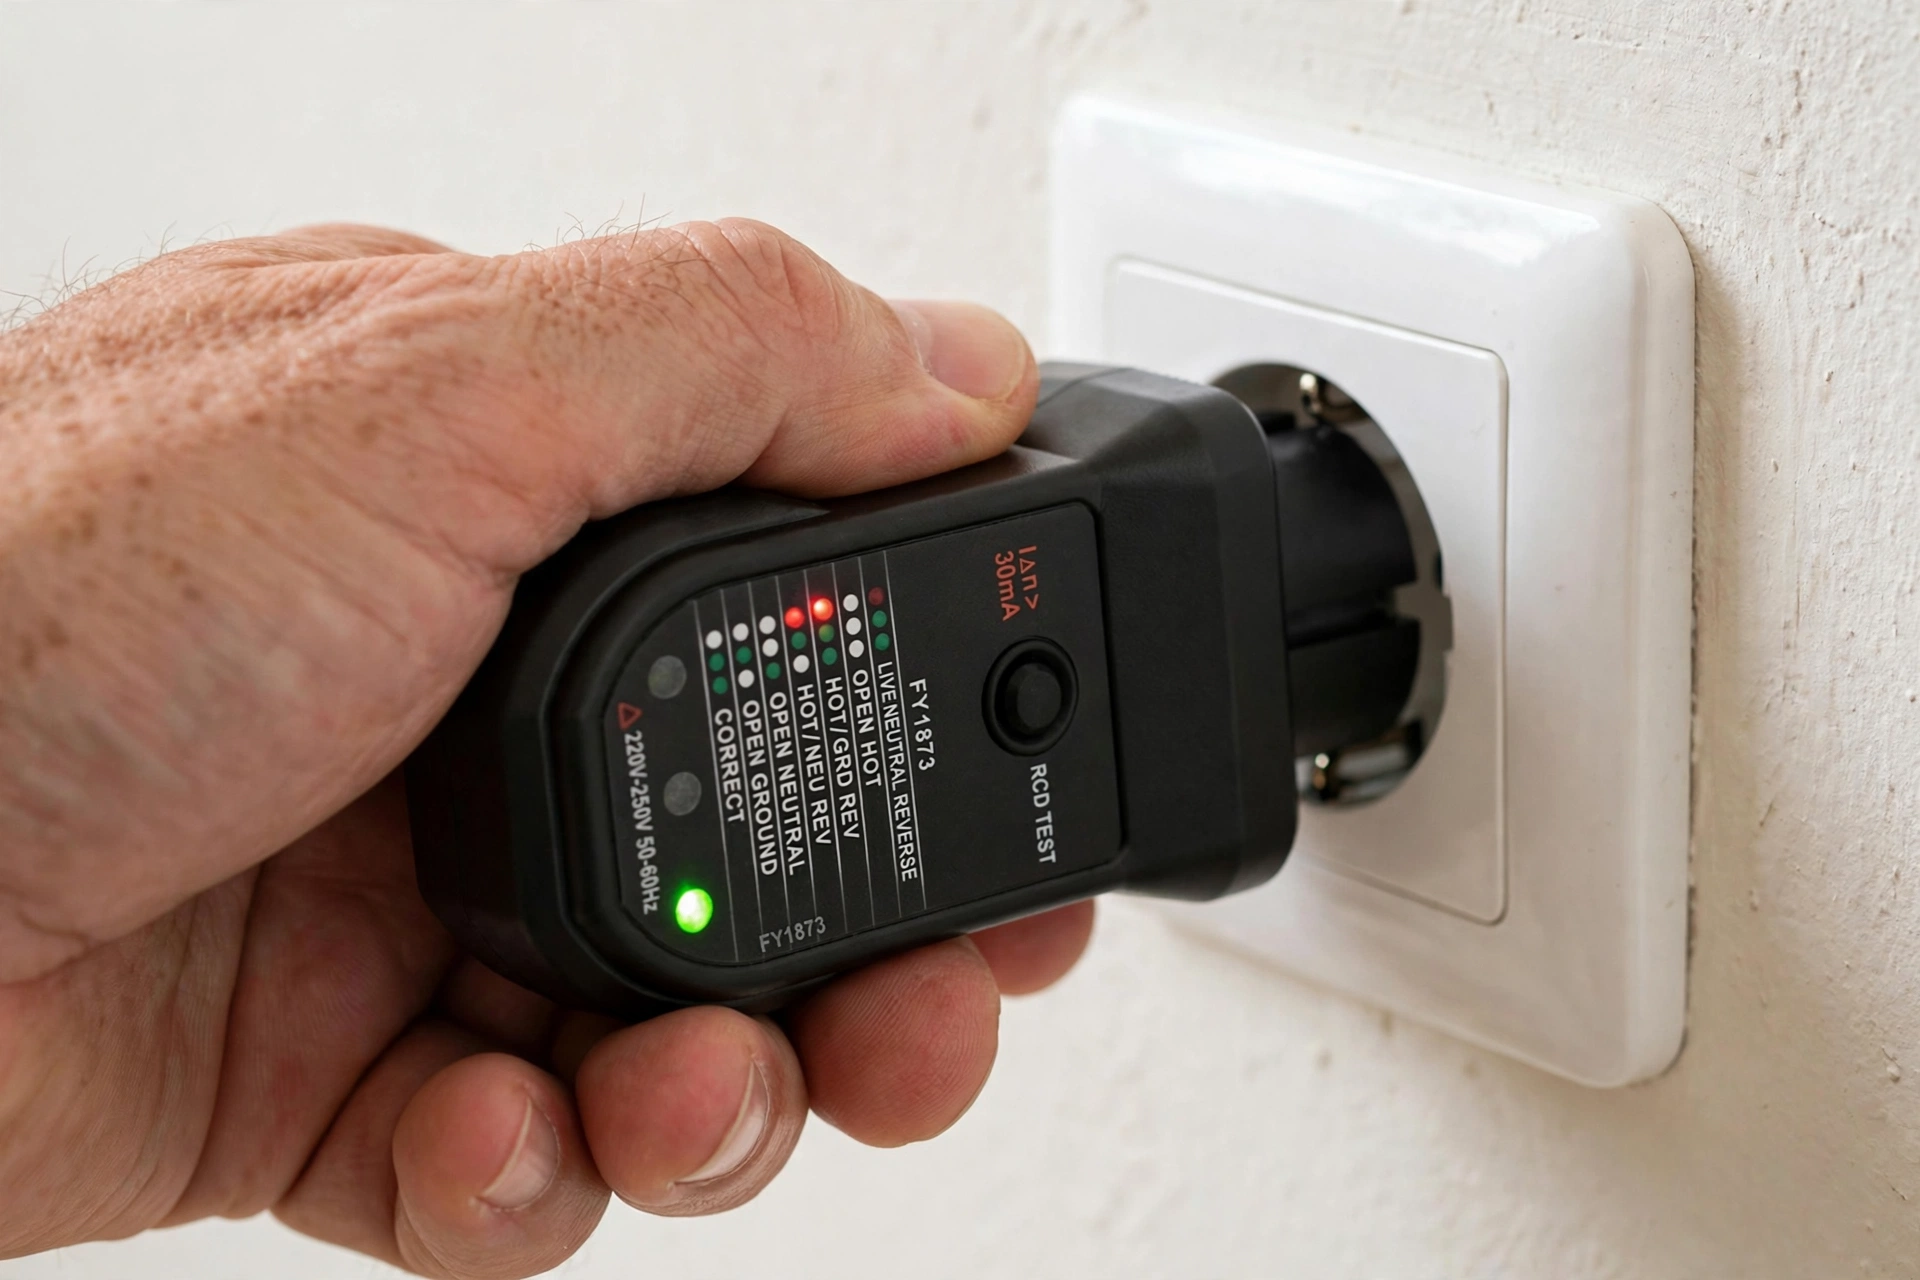
Bring your contract, drawings, and specification schedule — everything the contractor was supposed to deliver, on paper. Snagging without the spec is just guessing. Also bring masking tape in a bright colour, a torch, a spirit level, a plug socket tester, a camera phone, and a notebook.
Do the inspection in daylight. Natural light raking across walls and floors is how paint drips, uneven plaster, and tile lippage show themselves. Artificial light at night flatters everything — which is exactly why some contractors prefer it. And don’t live in the house first: once furniture is in, every scratch becomes “it could have been you.” Inspect the empty property, test everything, document everything. Then move in.
The Room-by-Room Checklist
Work methodically, room by room, so nothing gets missed.
Walls, ceilings, and paintwork. Stand at one end of the room and look along the wall, not just at it — oblique light reveals ripples, bumps, and poor plastering. Check for drips, roller marks, thin patches, and visible joints on gypsum ceilings, and run your hand along skirting boards for gaps and rough edges.
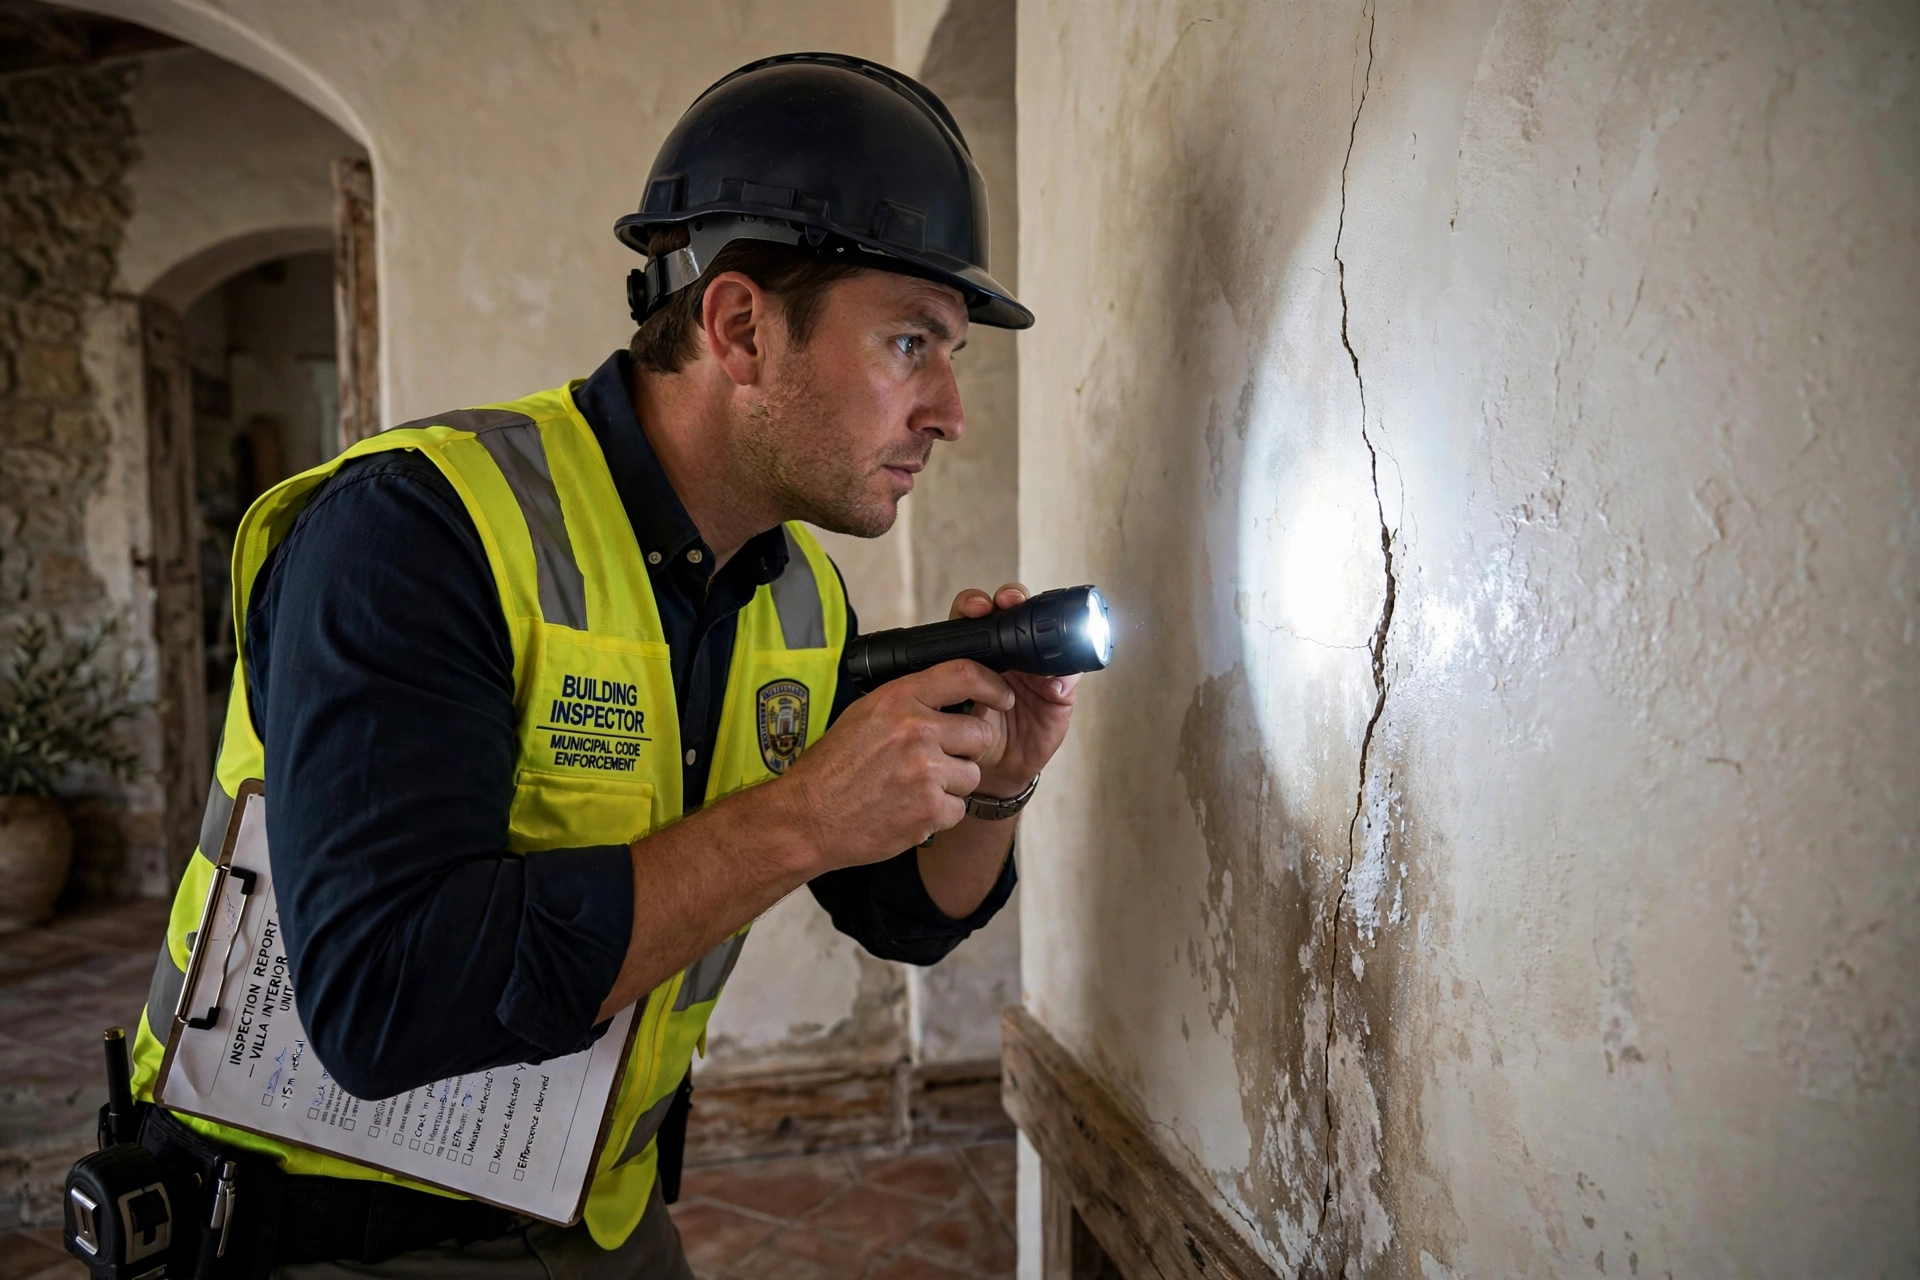
Flooring and tiling. Walk every floor slowly and listen for hollow sounds under tiles — poor adhesive coverage leads to cracked or drifting tiles. Check grout for cracks and gaps, and tile edges for lippage that catches your fingernail. Test behind doors and under sinks: the places nobody looks are where contractors cut corners.
Doors, windows, stairs, and railings. Open and close every door — they should swing freely, latch cleanly, and sit square. Check hinges, handles, and locks. Test every window’s open, close, and lock, and check seals for drafts; in Dubai’s summer, a poorly sealed window is a cooling bill issue. Push every railing — it shouldn’t move — and check stair treads and nosing strips for damage.
Bathrooms and plumbing. Run every tap, flush every toilet, and check under every sink for leaks — wipe the traps with a dry tissue, because slow drips don’t announce themselves. Check hot water reaches the far bathrooms and how long it takes. Test shower drainage: does water pool or flow away? Inspect silicone seals around baths and basins, and confirm the extractor fan actually extracts.
Kitchens. Run the taps and check drainage. Open every cupboard and drawer — do they close flush, do soft-close mechanisms work, are shelves level? Check countertop joints, sealant, and cabinet interiors for damage. Confirm every contracted appliance is present, installed, and working.
Electrical. Test every socket, switch, and light fixture — a cheap plug socket tester makes this fast. Flick every switch and see what actually turns on; mismatched or unlabeled switches are common. Check the consumer unit is clearly labeled, and test doorbells, intercoms, and gate automation. Don’t forget exterior sockets and lights.
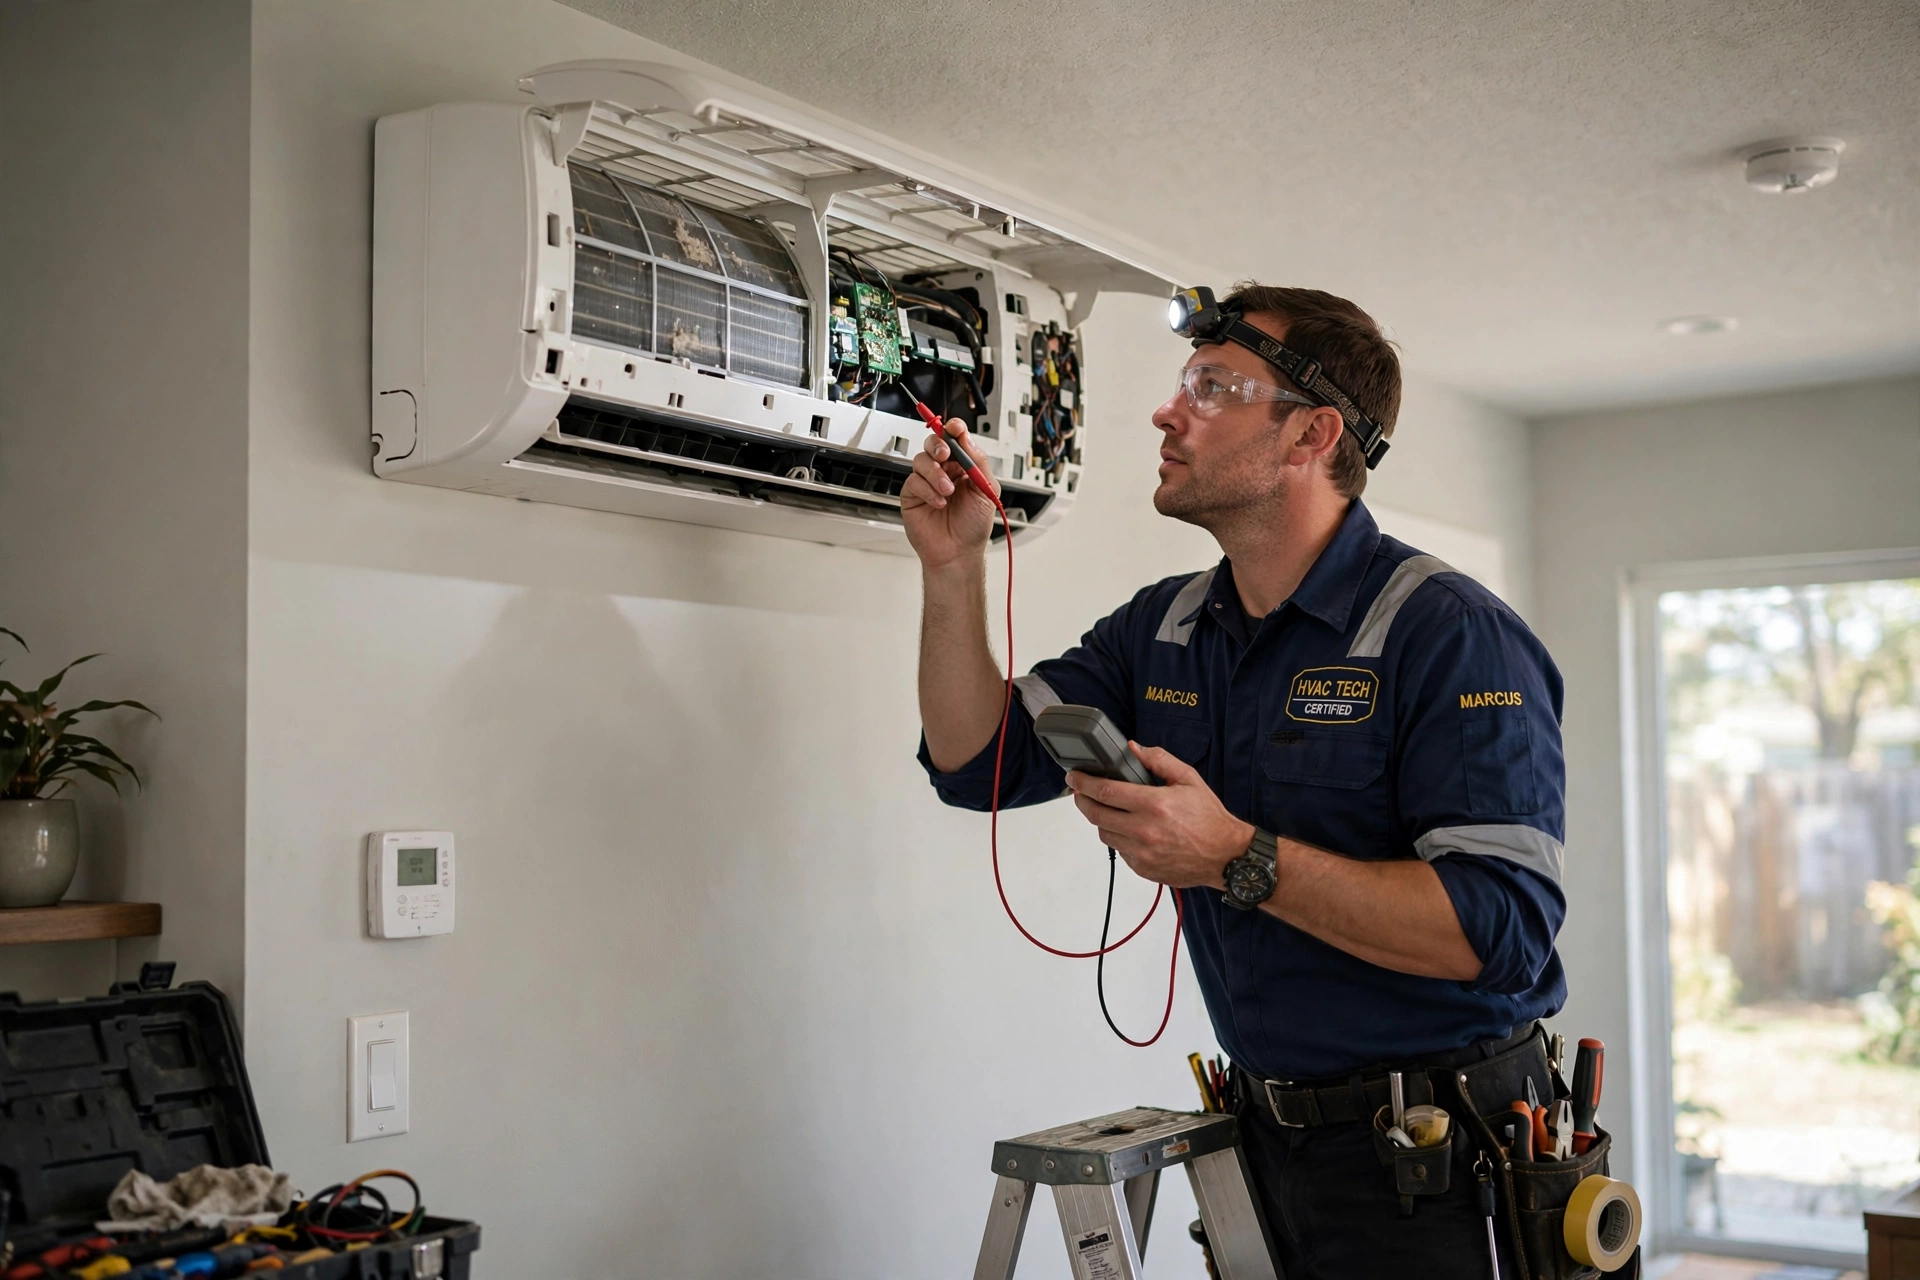
Air conditioning. Run every indoor unit and check each room reaches its set temperature — warm air or a room that never cools suggests refrigerant issues, poor ductwork, or an undersized unit. Listen for unusual noises, check condensate drains are flowing, and confirm every thermostat controls the zone it’s supposed to. This matters more in the UAE than almost anywhere else on earth.
Exterior, boundary walls, and roof. Walk the full perimeter. Check boundary walls for cracking and unfinished coping, gates for smooth operation, and driveways for drainage. On the roof, confirm waterproofing is properly finished around edges and penetrations like AC pipes — roof leaks are among the most expensive snags to fix later.
Documenting Defects So They Get Fixed
A verbal list evaporates. Everything goes in writing.
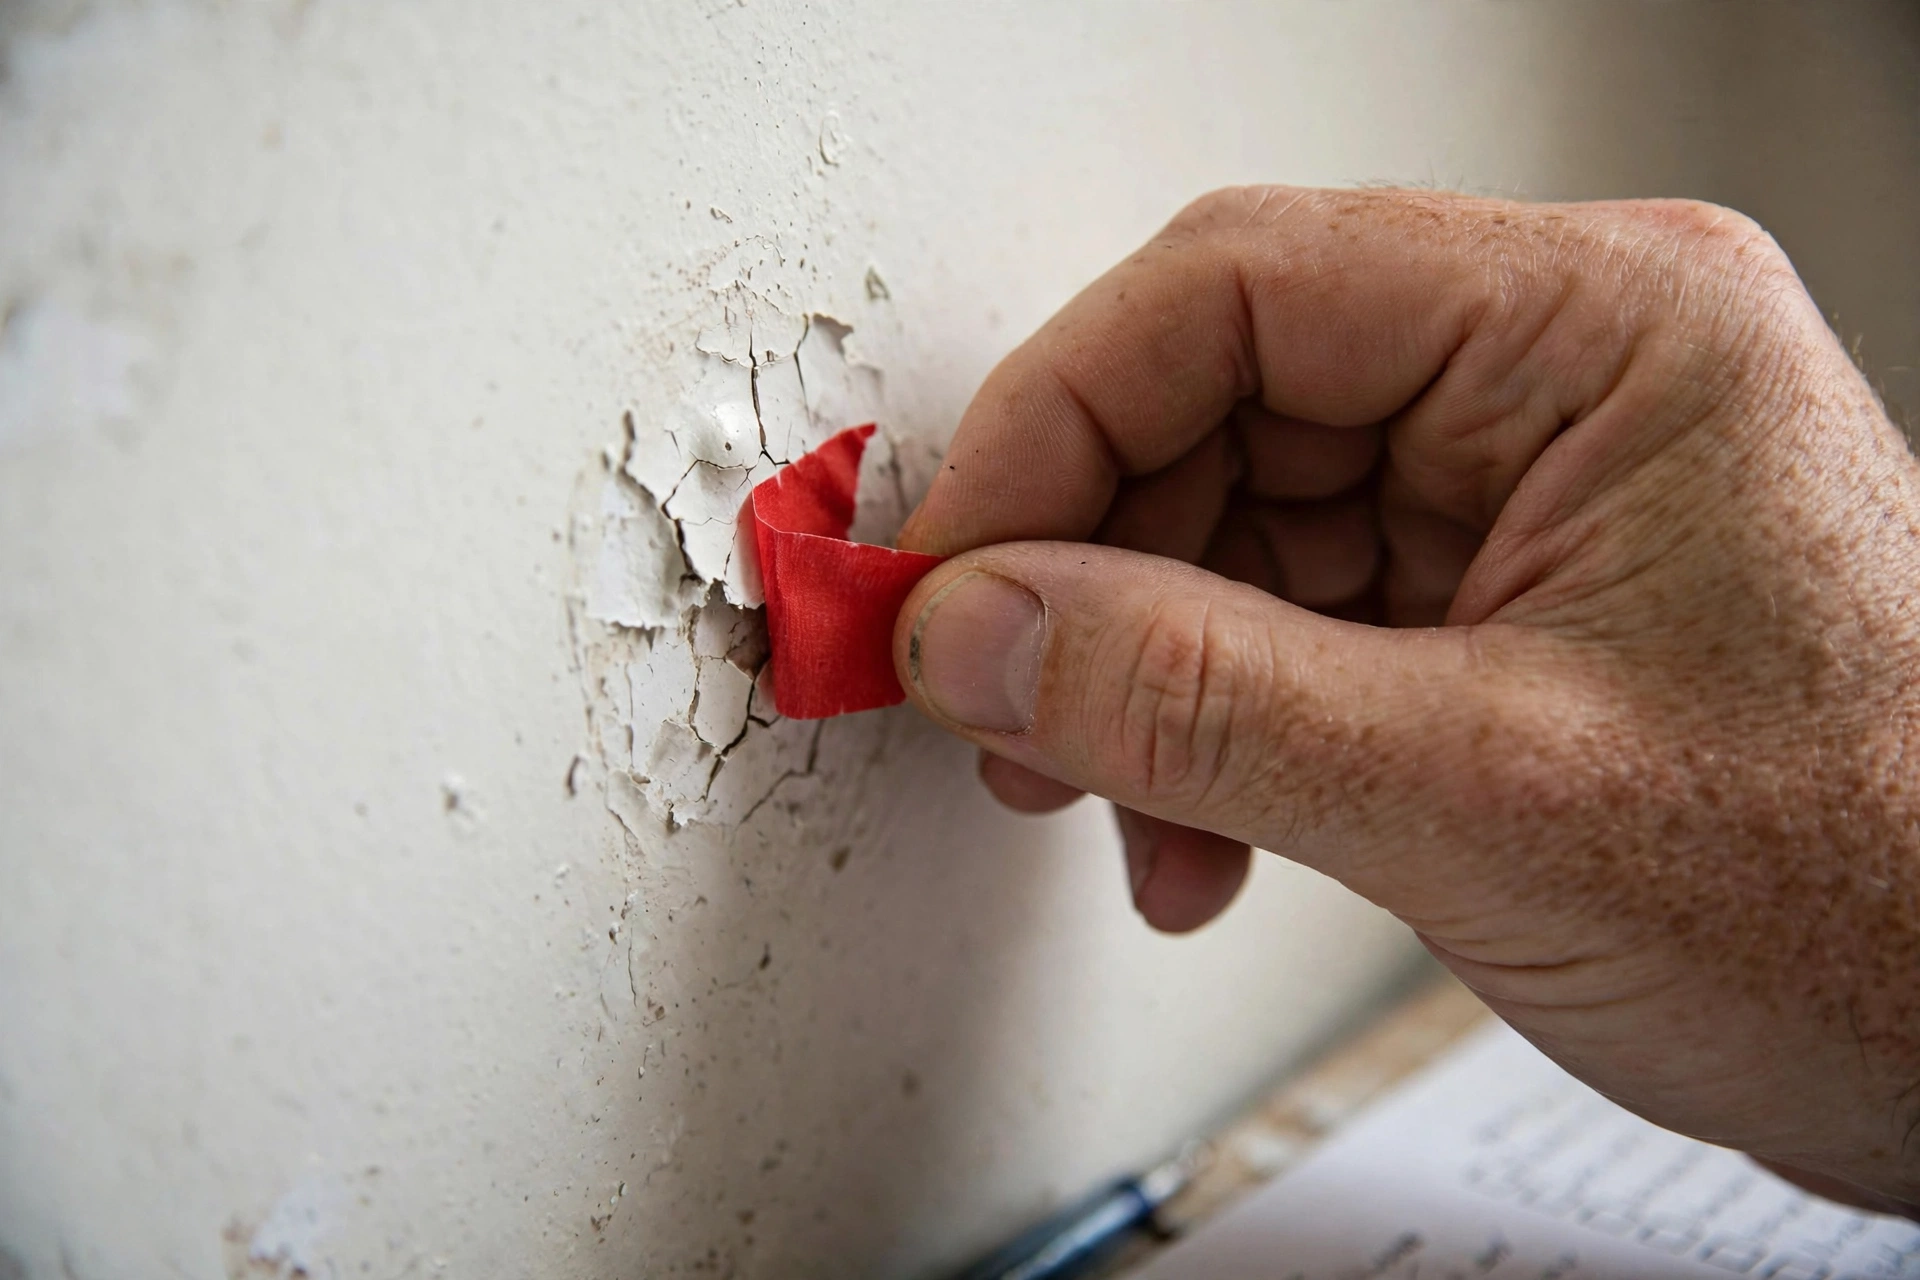
For each defect, record three things: where it is, what it is, and a photo. Mark the spot with bright tape so the repair team can find it, and photograph the defect next to its tape mark plus a wide shot of the room. Write up the full list — dated, numbered, one item per line — and email it to the contractor. Keep a copy: it’s your reference for the re-inspection, and evidence if things ever escalate.
Dealing With the Contractor
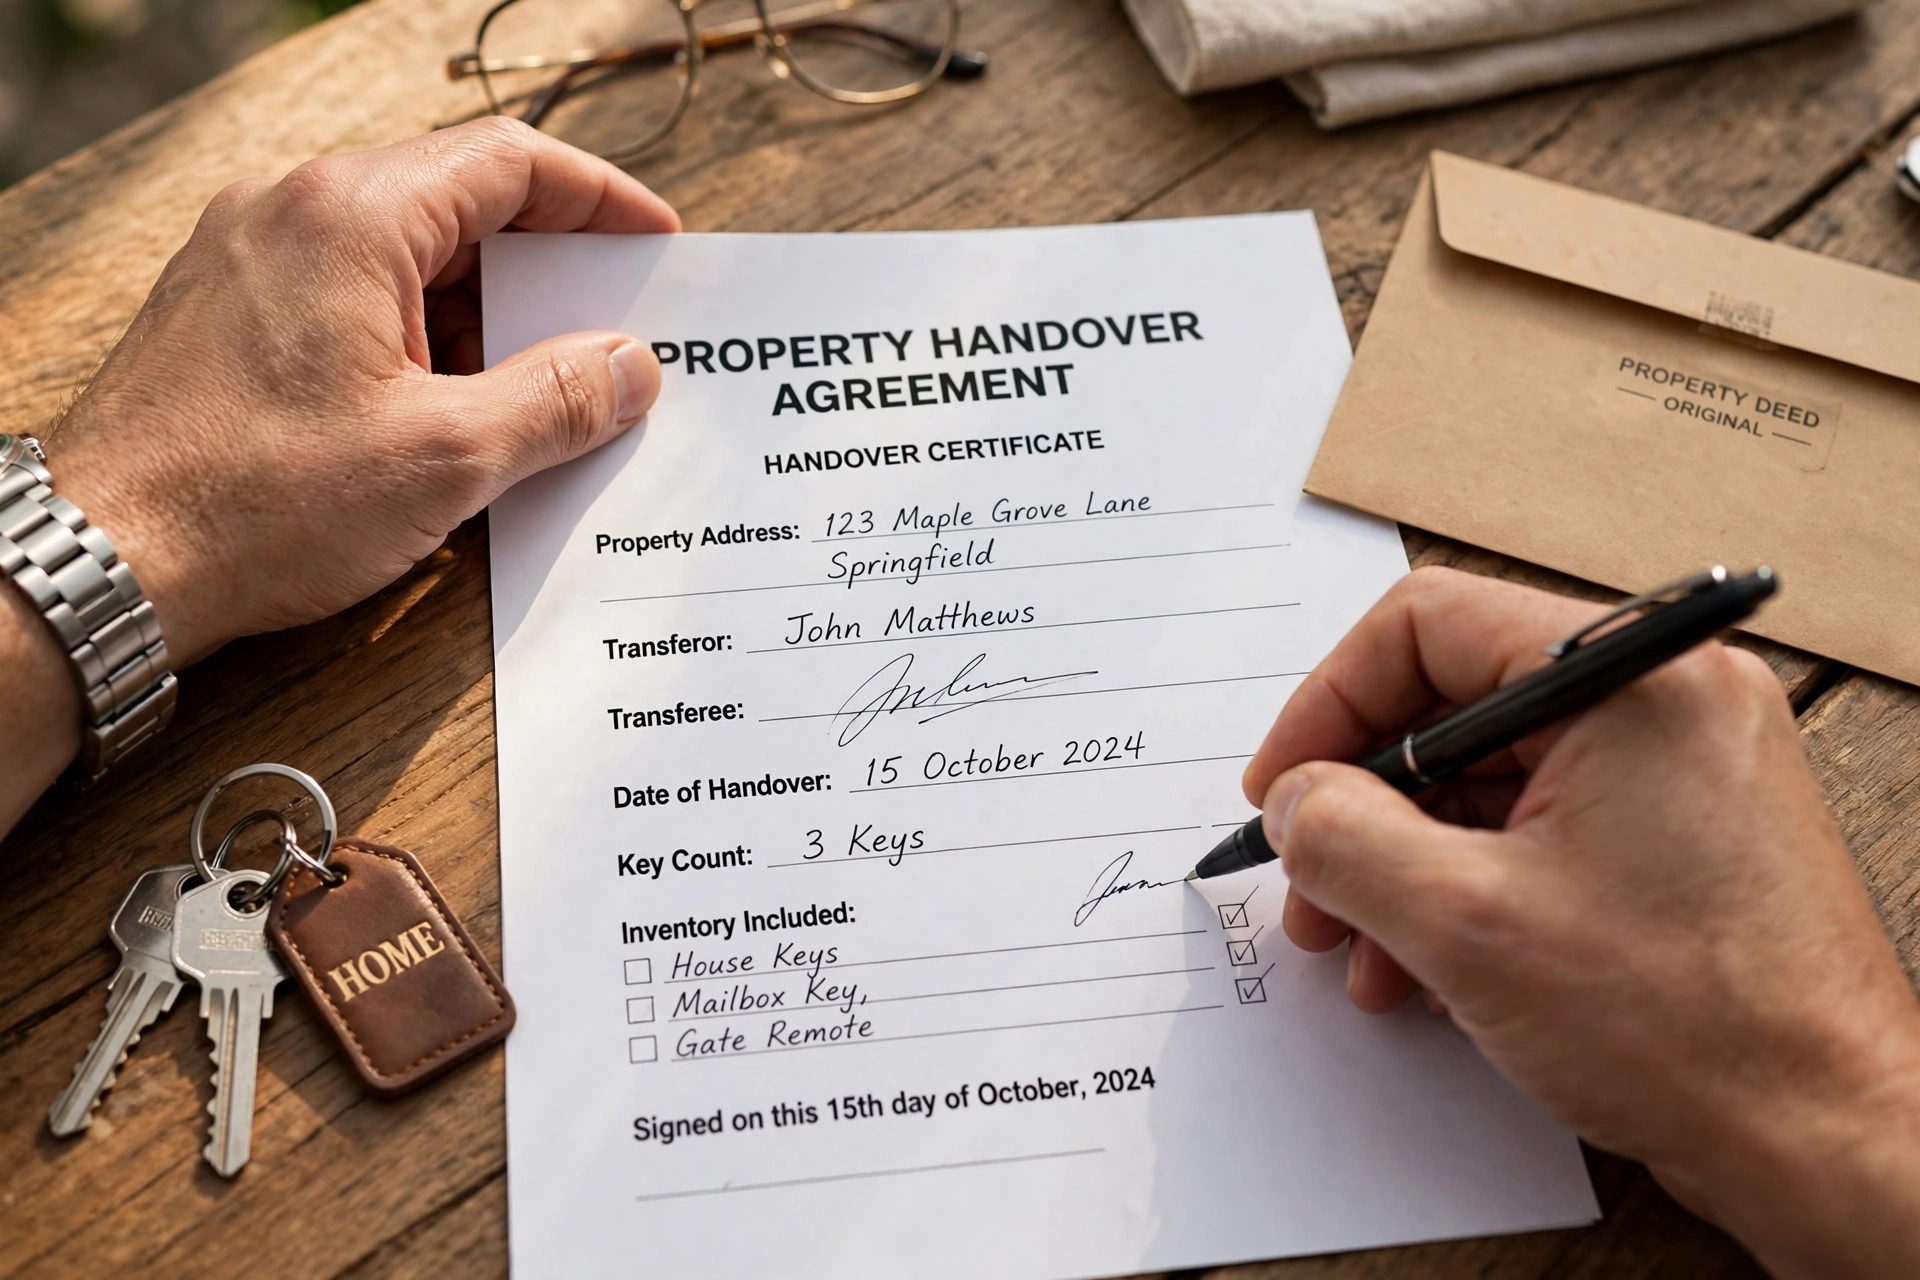
Expect three reactions: items fixed without argument, items debated (“that’s within tolerance”), and items claimed to be out of scope. The spec schedule is your referee — if it’s in the contract and it’s wrong or missing, it goes on the list.
Be reasonable but firm. Most defects are ordinary workmanship issues any decent builder corrects without drama. But “that’s normal” is not an answer to a hollow tile or a door that won’t close — and a contractor who resists snagging altogether is telling you something.
Once repairs are complete, re-inspect — walk the same rooms, check the same items, and confirm each numbered snag is actually resolved. Only then sign the completion certificate and release the final payment. We’ve seen homeowners skip the re-inspection because the contractor “promised it’s all done.” Sometimes it was. Sometimes half of it wasn’t.
Why You Never Skip This Before Final Payment
Final payment is your only real leverage. Before it’s paid, the contractor needs you. After it’s paid, you need them. The defects liability period may give you legal recourse, but chasing repairs through emails costs weeks of frustration — for every day you could have spent getting it done properly at handover.
For a large or complex villa, hiring a professional snagging company can be money well spent. But whether you do it yourself or hire an inspector, the principle is the same: don’t accept, don’t sign, and don’t pay in full until the property is right.
If you’re approaching handover on a new build or renovation, have the snagging process handled by a qualified contractor who treats it as part of the job, not an inconvenience. Getting it right at handover is cheaper, faster, and far less stressful than getting it fixed later.